

Deskin Installation Guide
DeskIn is pre-installed on your rented Mac. Follow this guide to connect from your device.
Good news: DeskIn comes pre-installed on your rented Mac. You can find your DeskIn Device ID and Password in the Remote Access Credentials section on your dashboard.
To connect: Simply install DeskIn on your own computer (Steps 1 & 2 below), then use your Mac's Device ID and Password to connect.
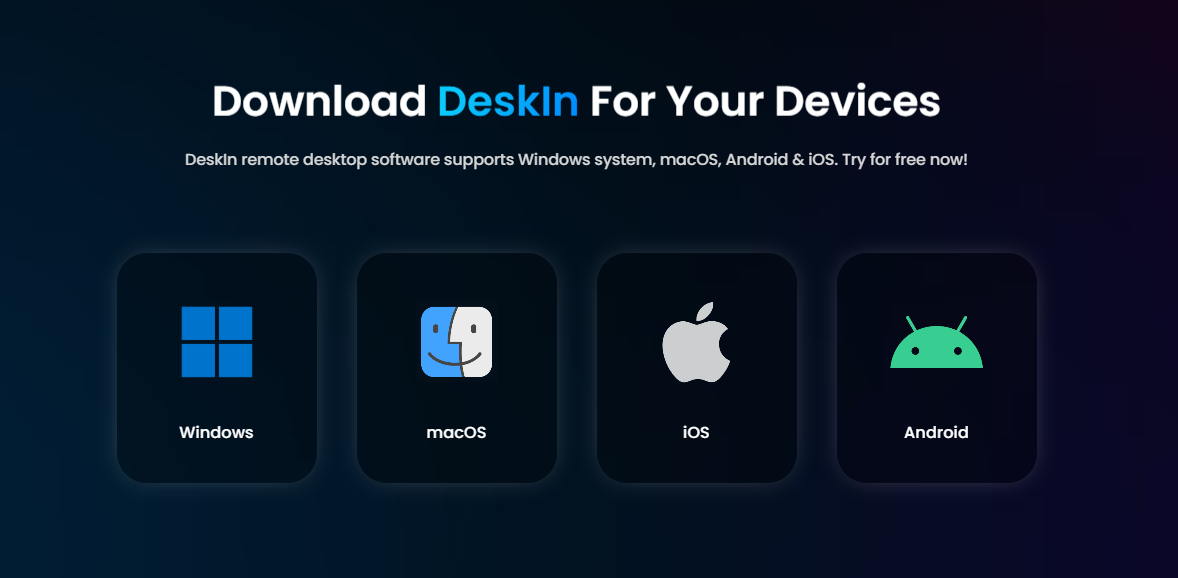
1. Go to deskin.io/download/deskin-personal
2. Select your operating system (Windows, macOS, or Linux)
3. Download and run the installer
The Deskin download page will automatically detect your operating system and show the appropriate download button.
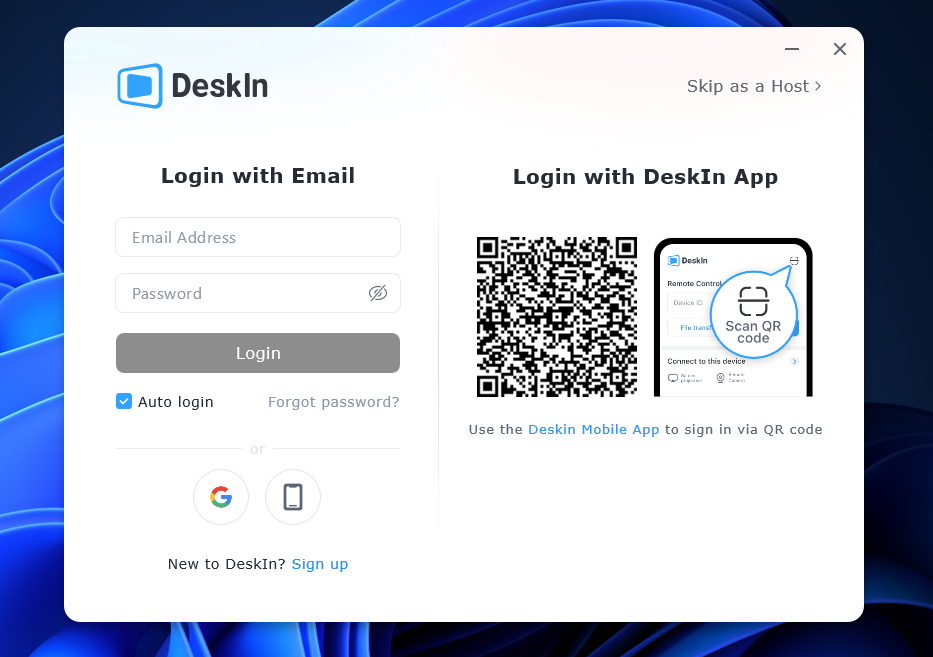
1. Launch the Deskin application after installation
2. Click "Sign Up" to create a new account
3. Enter your email address and create a secure password
4. Verify your email address when prompted
The Deskin login screen will appear when you first launch the application. You can either sign in with an existing account or create a new one.
Important: Perform these steps on your own computer (not on the rented Mac). This is where you'll connect FROM to access your rented Mac.
1. On your own computer, open the Deskin application and make sure you're logged in
2. In the "Control Remote Device" section, enter the Device ID from your rented Mac
3. Make sure "Remote control" is selected (not "File Transfer")
4. Enter the Device Id and click the blue "Connect" button to establish the remote connection
5. Enter the password from your rented Mac when prompted
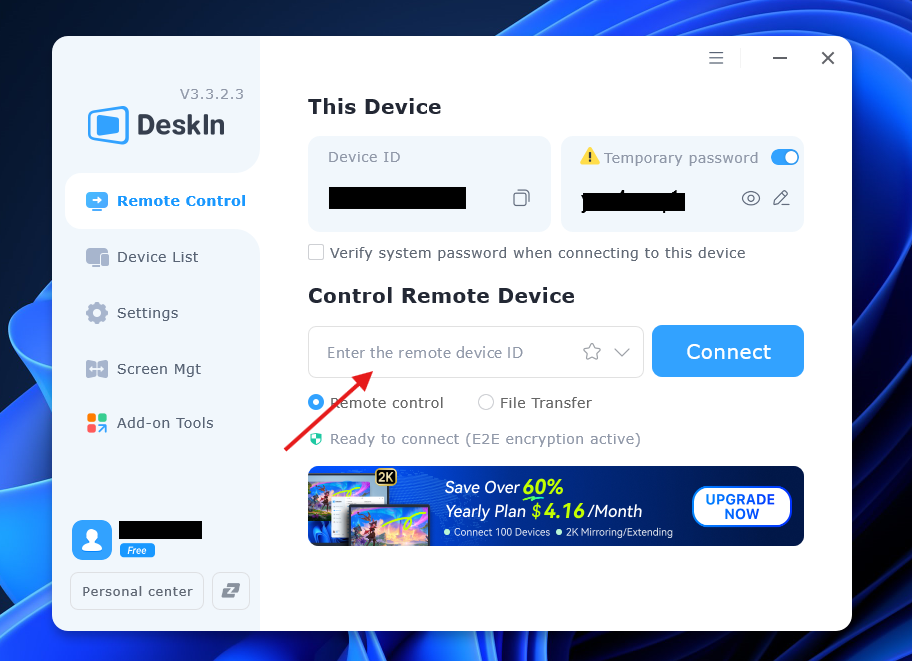
Troubleshooting: If you can't connect, make sure your rented Mac has Deskin installed and configured properly, and that the Device ID and password are correct. The status should show "Ready to connect (E2E encryption active)" as shown in the interface above.